How to post a blog in WordPress
 Written by Lorna Marty
| updated on
Written by Lorna Marty
| updated on
Quick Run-through of your Blog elements
From the backend of your site, click on POSTS > ADD NEW and you will see a new blog post created.
These are the elements you will need to work through:
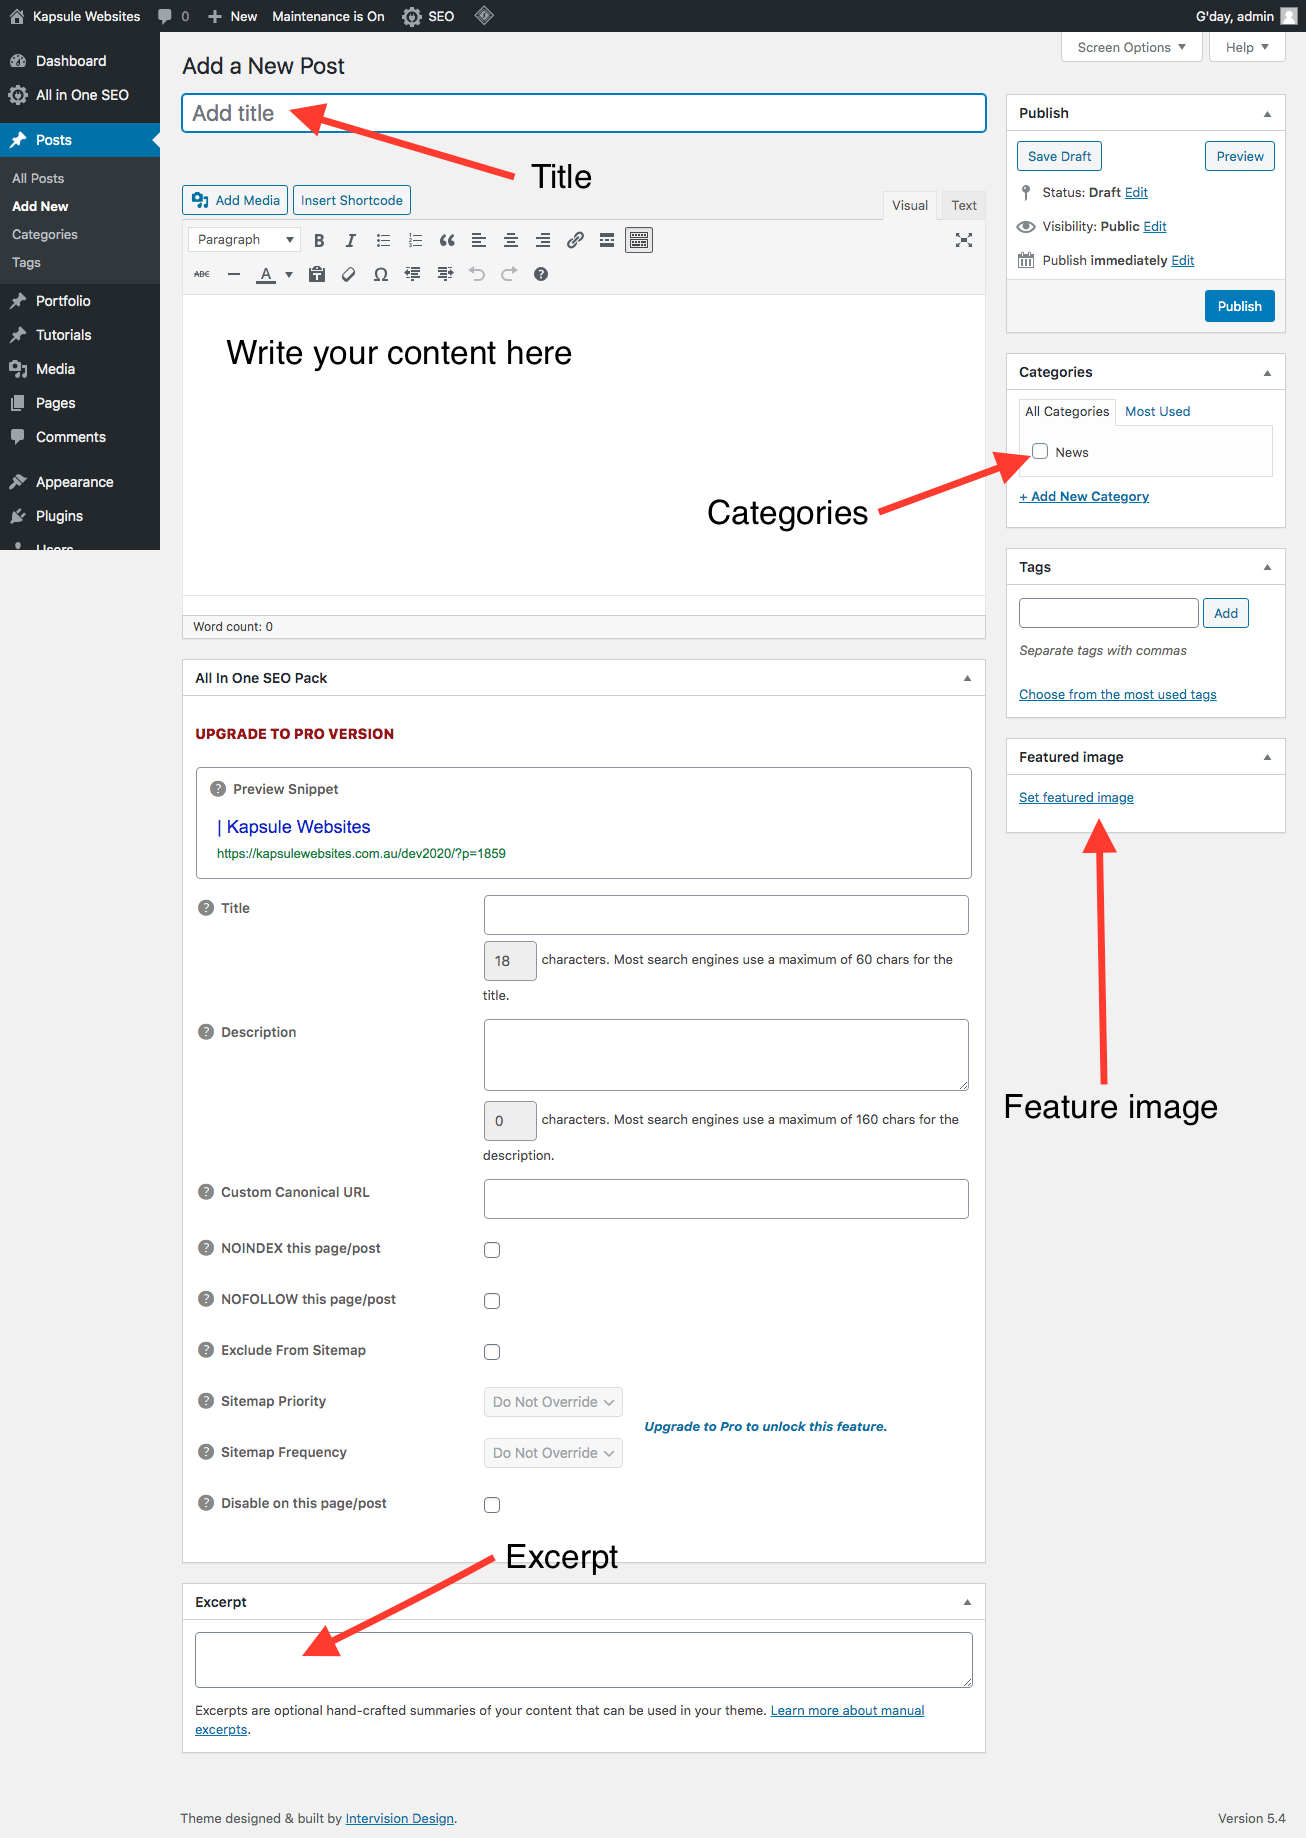
Your Blog Title
Add the title of your blog. If you later go back and change the title, make sure it matches the PERMALINK (click EDIT to change it, if required).
Your Blog Categories
On the right hand side of the page, you will see CATEGORIES. At first there may be just one category (e.g. news) – make sure this is ticked.
As you add more posts you may want to divide them into more categories. Make sure you click the appropriate category.
Add your Content
Upload your content to the text panel.
There are many things you can do to make your content look visually appealing.
Add headings
Style your headings so they are consistent with your other blog posts.
Add images to your text
For a full width image in your post it should be a minimum of 770 pixels wide.
Click on ADD MEDIA and either upload from your computer or choose from Media.
For more styling options s, see other tutorials in this section – for example:
- How to add custom bullet points
- How to add columns
- How to add a gallery
- How to add a button
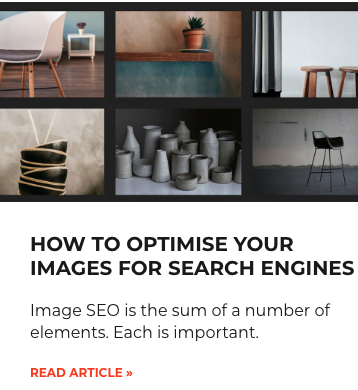
Add a featured image (header + overview image)
The feature image is the image that appears as the image on the blog overview page and the page header of the blog post.
Resize your image:
As this image swill be a header image – you should make your images at least 1600 pixels wide x 390 pixels high (depending on your blog page style).
NOTE: Your images will be automatically resized – but make sure they are not too big before you upload them as they will take up storage and slow the site down.
Name your images properly too – good for SEO and makes it easier to find them in the backend of the site.
Upload your image:
Click on SET FEATURED IMAGE (see right hand side panel)
Either SELECT FILES to upload the image from your computer or click on MEDIA LIBRARY to select an image that has already been uploaded to MEDIA.
Click on USE AS FEATURED IMAGE (see image below – don’t worry about any other settings they are all automatic)
Click SAVE.
Add an excerpt
An excerpt is a handcrafted snippet, designed to entice site visitors to read more.
It shows on the overview page under the title:
Scroll down the page and you will see the following box, which you will need to fill in.

If it is not showing, click on SCREEN OPTIONS at the very top of the page and tick EXCERPTS.
Add hyperlinks
It is good to link to other pages and posts in your site and even external websites.
Highlight the text you want to link – and then click on the chain icon above the text box.
![]()
Paste the web address in the box and then click the arrow to apply.
![]()
If you are linking to an external URL you will want that page to open in a new window, so click on the cog and tick OPEN IN A NEW TAB.
![]()
Call to Action
It is good to include a call to action (CTA) on your blog post, encouraging site visitors to, for example, make contact or to check out a product.
PUBLISH
Once you have done all the above, RE-READ your post and check for errors and then either PUBLISH for immediate posting, or SCHEDULE for posting later (just click on the EDIT under publish to change the date).
NEED SOME HELP PLANNING YOUR NEW WEBSITE?
Download your FREE WORKBOOK
& start creating your new site.
Download FREE today